From Digital to Fabric How to Convert Your Logo to Embroidery

Understanding Logo Conversion to Embroidery
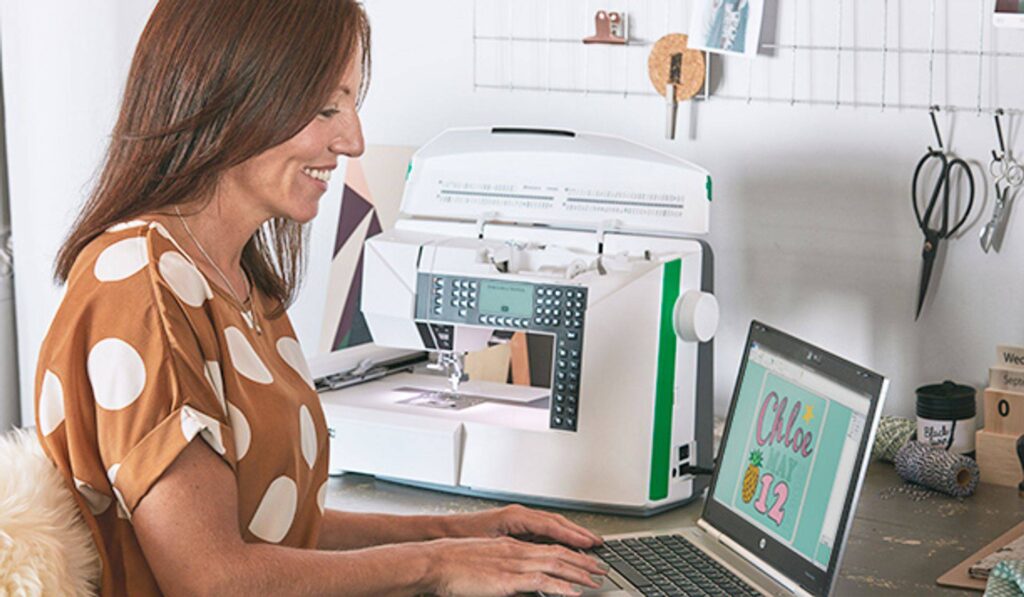
Converting a logo into an embroidery design is an art form that requires precision and attention to detail. This process involves transforming your digital logo into a stitchable format that can be read by embroidery machines. The result is a durable, high-quality embroidered logo that can be applied to various fabrics. In this guide we will explore the process on how to convert logo to embroidery by Absolute Digitizing.
The Importance of a High-Quality Logo
A high-quality logo is essential for a successful conversion to embroidery. The clearer and more detailed the logo, the better it will translate into stitches. Simple designs with clean lines and bold colors tend to work best, as they are easier to reproduce accurately in thread.
Choosing the Right Embroidery Software
Selecting the right embroidery software is crucial. Popular options include Wilcom, Hatch, and Pulse. These programs offer advanced features that allow you to fine-tune every aspect of your design, from stitch types to thread colors. Familiarizing yourself with the software’s capabilities can significantly impact the quality of the final product.
Understanding Embroidery File Formats
Embroidery machines require specific file formats, such as DST or PES. Converting your logo into the correct format ensures that the machine can accurately interpret the design. Most professional embroidery software programs can export designs in these formats, making the conversion process straightforward.
Preparing Your Logo for Conversion
Simplifying the Design
Complex logos with intricate details may need to be simplified for embroidery. Small text and fine lines can be challenging to reproduce accurately in thread. By simplifying the design, you can ensure that all elements are clearly visible and the final product looks polished.
Adjusting Colors
Embroidery threads come in a wide range of colors, but not all digital colors can be perfectly matched. It’s essential to adjust your logo’s colors to the closest available thread colors. This step ensures that the embroidered logo closely resembles the original design.
Scaling the Logo
Scaling your logo to the appropriate size for embroidery is crucial. Too small, and the details may be lost; too large, and the design may become distorted. Most embroidery software includes tools for scaling designs while maintaining their integrity.
The Embroidery Digitization Process
Importing the Logo
Begin by importing your logo into the embroidery software. This step involves loading the digital file and preparing it for conversion. Ensure that the image quality is high to achieve the best results.
Mapping Out Stitches
Once the logo is imported, the next step is mapping out the stitches. This process involves determining the stitch types, directions, and densities for each part of the design. Professional digitizers use their expertise to create a stitch map that ensures a high-quality embroidered logo.
Adding Underlay Stitches
Underlay stitches are essential for stabilizing the fabric and providing a foundation for the top stitches. These stitches help prevent puckering and shifting during the embroidery process. Different underlay types, such as edge walk or zigzag, are used based on the fabric and design complexity.
Test Stitching the Design
Before finalizing the design, it’s crucial to perform a test stitch. This step allows you to see how the design looks when stitched onto fabric and make any necessary adjustments. Test stitching helps identify potential issues, such as thread breaks or uneven stitches, ensuring the final product is flawless.
Common Challenges in Logo Conversion
Managing Small Details
Small details can be particularly challenging in embroidery. Elements like fine lines, tiny text, and intricate patterns may not translate well into stitches. Simplifying these details or adjusting their size can help achieve a cleaner, more professional look.
Dealing with Color Limitations
Embroidery threads have a limited color palette compared to digital designs. Finding the closest thread colors to match your logo can be a challenge. It’s essential to experiment with different thread options and choose the ones that best represent your logo’s colors.
Ensuring Fabric Compatibility
Different fabrics react differently to embroidery. Stretchy or delicate fabrics can be more challenging to work with, as they may pucker or distort the design. Choosing the right stabilizer and adjusting the stitch density can help ensure compatibility with various fabric types.
Tips for Successful Logo Embroidery
Choose the Right Fabric
Selecting the appropriate fabric for your embroidered logo is crucial. Sturdy fabrics like cotton, denim, or canvas tend to work best. Avoid stretchy or sheer fabrics, as they can cause the design to distort.
Use High-Quality Threads
Investing in high-quality embroidery threads can make a significant difference in the final product. High-quality threads are less likely to break, fray, or fade over time, ensuring your embroidered logo looks great for years to come.
Regular Maintenance of Embroidery Machines
Maintaining your embroidery machine is essential for achieving high-quality results. Regular cleaning, oiling, and calibration can prevent issues like thread breaks and uneven stitches. A well-maintained machine ensures that your embroidered logos are consistently perfect.
Advanced Techniques in Logo Embroidery
3D Puff Embroidery
3D puff embroidery adds dimension to your logo by using foam under the stitches. This technique creates a raised, three-dimensional effect that makes your logo stand out. It’s popular for hats and other items where a bold design is desired.
Appliqué Embroidery
Appliqué involves stitching a piece of fabric onto the base fabric, creating a layered effect. This technique is excellent for adding texture and color to your logo, making it more visually appealing.
Mixed Media Embroidery
Combining embroidery with other techniques, such as screen printing or rhinestones, can create a unique and eye-catching design. Mixed media embroidery allows for more creativity and versatility in your logo designs.
The Role of Professional Digitizers
Expertise and Precision
Professional digitizers bring expertise and precision to the embroidery process. They understand the intricacies of different fabrics and threads, ensuring that your logo is accurately represented in stitches.
Customization and Flexibility
Working with a professional digitizer allows for greater customization and flexibility. They can make adjustments to your design, suggest improvements, and ensure that the final product meets your expectations.
Time and Cost Efficiency
Hiring a professional can save you time and money. While it may seem cheaper to do it yourself, the learning curve can be steep, and mistakes can be costly. Professionals get it right the first time, providing you with a high-quality product quickly.
Conclusion
Converting your logo to embroidery involves several steps, from preparing the design to test stitching the final product. By understanding the process and working with a professional digitizer like Absolute Digitizing, you can ensure that your embroidered logo is of the highest quality. Paying attention to details like fabric choice, thread quality, and stitch mapping can make a significant difference in the final product. With the right approach, your logo can be transformed into a beautiful, durable embroidered design that enhances your brand’s visibility and appeal.

 Virginia Business Blueprint: How to Kickstart Your Entrepreneurial Journey
  The Role of Udyam Registration in Atmanirbhar Bharat Abhiyan
  Mango Costs in Pakistan 2024: A Total Diagram
  Why Professional Power Management Can Make or Break Your Event
  Experience The Thrill Of Zipline Dubai With Captain Dunes
  Exploring London’s Best Butcher Shops
  Enhance Your Shop Appeal with Sydney’s Best Carpentry Services
  A Detailed Look at the Features of the LEGO Technic Mars Crew Exploration Rover